 |
| Felt hangs on a pole, a new quilting aid. |
Home from two weeks at the Chesapeake Bay as I settled into our one bedroom apartment I quickly found I needed to get a felt on the wall to work on the quilt blocks. First problem was our vintage plaster and lath walls. I couldn't push a pushpin into them to hold up my big white felt. This great 6 x 6 foot white felt I used at the red bay house so effectively for the first time is now essential for designing the layout and considering the colors and shapes of any quilt.
I knew I would have to find a way to get the felt on the wall before I could continue working on the this newest quilt in earnest. I let it sit and day dreamed about possible solutions.
 |
| view of the entire pole hanging near the ceiling |
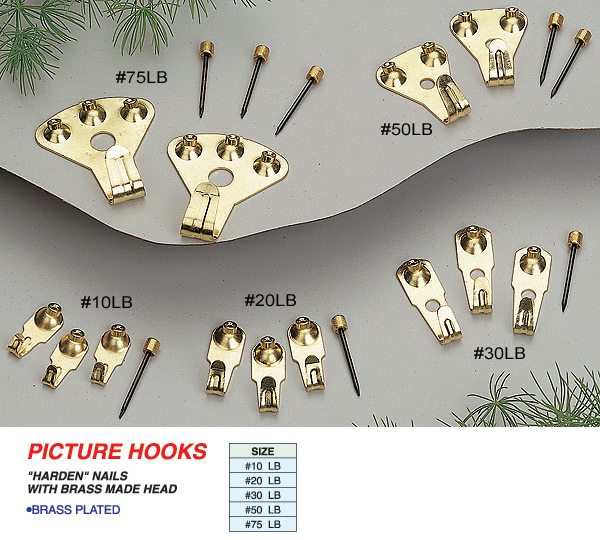
I tried pushpins first and that was impossible. Then I tried some duct tape, and that worked for about ten minutes! Then down came the felt little by little, one corner slipping loose re-stuck then another and it was clear that I found something duct tape can't do! The sticky duct tape pulled loose from the felt but not the wall. Then I thought again about what could work without putting massive holes or sticky glue on our walls. I have one wall in my bedroom that is free of artworks in frames. I decided I would dedicate this wall with a rod quilt hanging system for my felt or finished quilt work from here on in... I went the next day to the local hardware store and bought an eight foot long wooden closet pole as straight as could be found, in addition to two eye hook screws. I got it home and drilled holes into the ends of the pole. Then I screwed the eye hooks into the ends and added picture wire loops to hang the pole on picture hooks. I use an European type of picture hook
(see a picture of hooks here) which have pin like nails with a brass hook, these are best hangers I ever found for plaster walls. I learned about them from my years as an art installation worker where we had to be very concerned about damaging clients walls. These picture hook nails don't break the plaster like normal nails do because they are very sharp, thin and extra hard steel. They can be reused too and don't leave a big hold in the wall when you pull them out like other hook and nail hangers.
I set up the sewing machine on the porch table. I then got the felt, folded and pinned one side over and sewed a long channel to hang on the pole like a curtain on a rod. Strung it on the pole then climbed up and hung the felt on it's new rod about six inches from the ceiling.
While I was wondering what to do about my felt hanging situation I had a conversation with a social worker from the Veterans Administration who said that quilters she knows work with a whole room of their house devoted to the purpose of quilting! We sure don't have that kind of space but I am doing the best I can by giving one wall to felt for designing. I still have to iron on top of a carefully padded dresser. And as you can see a lot of other stuff.
 |
| ironing board area at foot of the bedroom |
Then I run out to the back porch studio where the light is great and the sewing machine sits on the work table while I am using the space for sewing. It's kind of a long walk from bedroom corner to the ironing station then out back to the sewing machine and back for each new seam I sew but I don't know how else to do it right now. The trouble is the best light my old eyes need for detail work is on the northwest facing all glass porch.
Check out the new block I created after I got the felt hung and began working again. I wanted to show that things were kind of jagged and giggled at the Bay the two weeks we were there. Our first earthquake shook us seriously and made the house feel unsteady under our feet and flying branches broke a window pane during the hurricane. Otherwise the experience was a delight and even those things were adventure full of adrenalin.
 |
| first time adding a Y intersection where three seams come together at the base of the V insert. |
This still needs to be refined and tried a few more times to get the hang of sewing V shaped inserts. I think it is not bad for a first try with no instructions. It is engineering fabrics to do what I want them to do. Suddenly I have a new understanding of what piece work is all about in quilting.


No comments:
Post a Comment